Here is the scenario rules for Oldendorf 1633, along with a map for the battlefield.
Introduction:
This scenario presents the players with a defensive position battle, with each side deployed, but with a numerically inferior force having to attack a stronger defender.
Terrain:
The ridges all have steep slopes and so there is a reduction to movement on them, but not on the ridges themselves. The single buildings at D14 and E4 represent small villages; they can be occupied by one company of foot troops. There is no movement bonus on the roads.
General Situation:
The
Protestant army under Duke George of Brunswick-Lüneburg has been besieging
The
Catholic army under Field Marshal Lothar von Bonninghausen has been sent to
drive off the Protestant besiegers of
Orders:
The Catholic army must defeat the Protestant army in order to
break the siege of the fortress and re-supply it.
The Protestant army must repulse the Catholic army’s attack
decisively in order to continue its siege of the fortress.
Protestant Army:
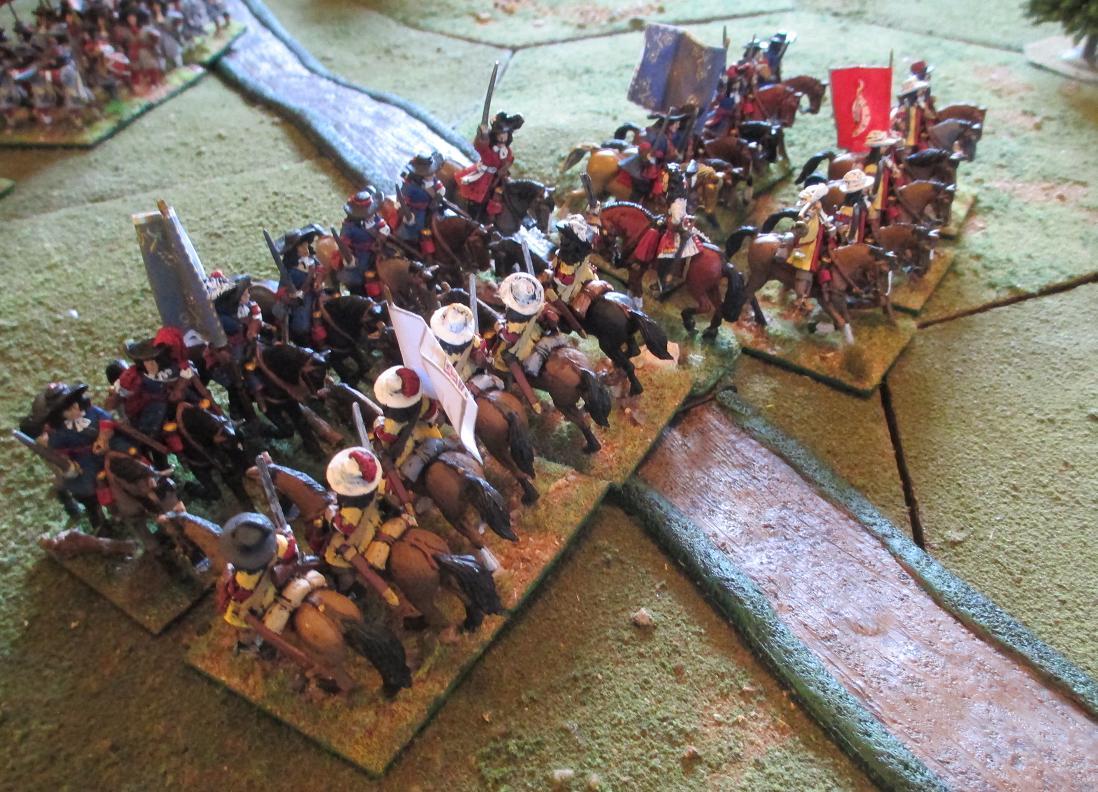
Right
Wing: F4 1 x German Dragoon Regiment (Trained)
1
x Swedish Horse Squadron (Veteran)
E4 1 x Swedish Horse Regiment (Veteran)
1 x General = Stalhansk
Centre: D4 1
x German Foot Regiment (Trained)
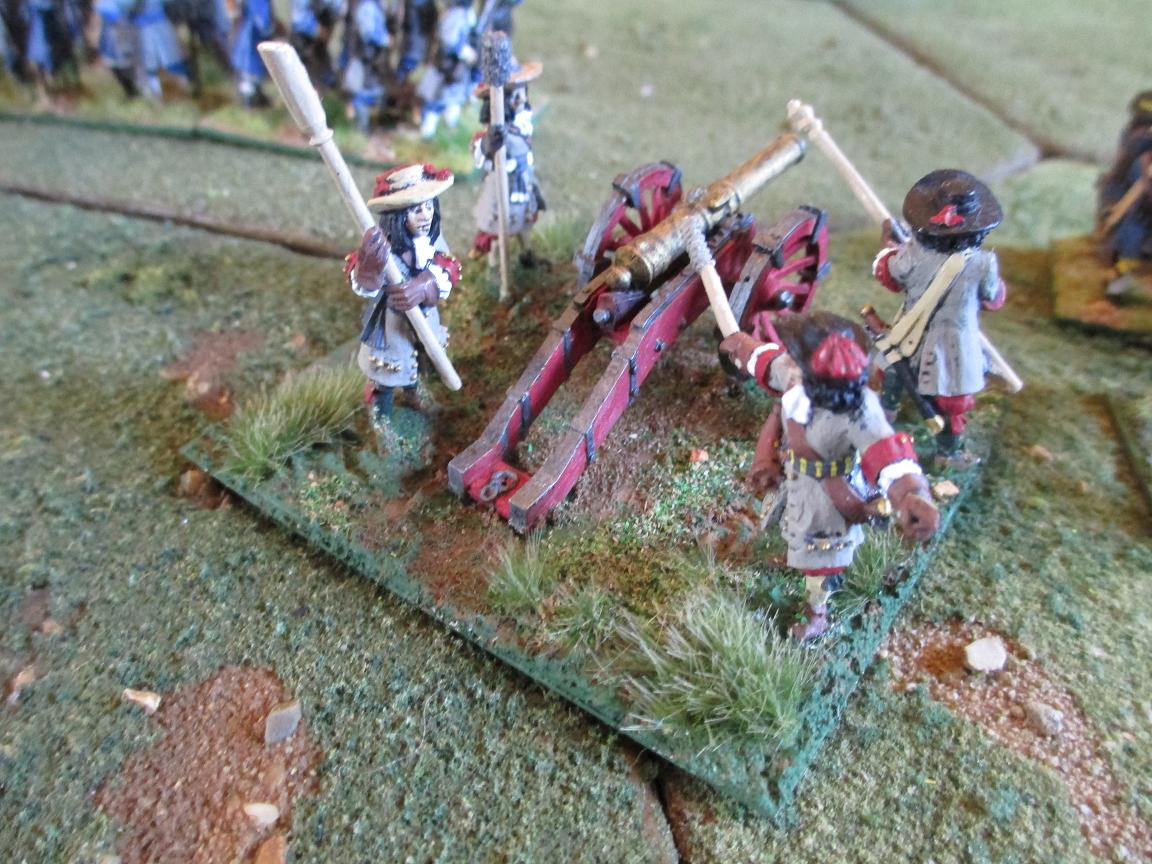
1 x Light Gun
C4 1 x Swedish Foot Regiment (Veteran)
1 x Medium Gun
1 x General = Kagge
Left
Wing: A4 1 x German Dragoon Regiment (Trained)
1 x Swedish Horse
Squadron (Veteran)
B4 1 x German Horse Regiment (Trained)
1 x German Horse
Regiment (Trained)
1 x General =
Knyphausen
Reserve: C4-D4 1
x German Foot Regiment (Trained)
D4 1 x German Horse Squadron (Trained)
1 x General = Duke
George
Protestant Army Notes:
1
All foot and horse units deploy in line; the artillery batteries are deployed
ready to fire. However, the Protestant army commander may choose to deploy his
dragoon regiments mounted or dismounted at the start of the battle.
2
Generals begin the battle with their brigades, either attached to a unit or
independent, at the choice of the Protestant army commander.
3
The general with the Reserve is the Protestant army commander.
Catholic Army:
Left
Wing: F2 1 x Walloon Dragoon Regiment (Trained)
F1 1 x German Horse Regiment (Trained)
1 x German Horse Regiment
(Trained)
1 x German Foot Regiment
(Raw)
1 x General = Geleen
Centre: E1 1
x Walloon Foot Regiment (Trained)
D1 1 x German Foot Regiment (Trained)
1 x Medium Gun
1 x General = Merode-Waroux
Right
Wing: C1 1 x German Horse Regiment (Trained)
1 x German Foot Regiment
(Raw)
1 x General = Gronsfeld
Reserve: D1 1 x Walloon Foot Regiment (Trained)
1 x German Horse Regiment
(Trained)
1 x General = Bonninghausen.
Catholic Army Notes:
1
The Catholic army foot and horse units deploy in line; the artillery battery is
deployed ready to fire. However, the Catholic army commander may choose to
deploy his dragoon unit mounted or dismounted at the start of the battle.
2
Generals begin the battle with their brigades, either attached to a unit or
independent, at the choice of the Catholic army commander.
3
The general with the Reserve is the Catholic army commander.
4
The foot regiment in F1 is a musket-armed unit only and has no pikes.
5 The horse regiment in D1 should be cuirassiers.
Victory Points:
Protestant
Army:
Control the hills A2-A3 10 VP
Capture the Farm D1 50
VP
Per Enemy Unit Destroyed 5 VP
Catholic
Army:
Control the road exits and hills A2-A4 50
VP
Capture the Farm E4 20 VP
Control the hills E4-F4 20 VP
Per unit exited unit off the south edge of
F4 50 VP
Per Enemy Unit Destroyed 5
VP
Map:

After
the death of Gustavus Adolfus, the King of Sweden at the Battle of Lützen,
leadership of the Protestant forces in
Designer’s Notes:
The
terrain for the battle was reasonably straightforward to reproduce: two main
ridges opposite to one another and a third located on the west side of the
table. Several small streams ran across the battlefield along the foot of the
ridges from east to west: I do not possess suitable scenery for these, so I
made the slopes of the ridges steep to represent the delay crossing the streams
would have caused. They do not seem to have influenced in a significant way the
progress of the battle. Other than that, I dotted a few trees around the table
to break up the bare expanse, with a few extra in the south-west corner, where
at least one map suggested a more wooded area, and along the east edge of the
table, where the lowest slopes of the Mittelburg ridge would have been. The
north farm represents the
For
the two armies, I tried to keep to a ratio of foot, horse and artillery between
them that reflected the strengths suggested by various sources. The Protestants
had an edge numerically in cavalry and artillery, the Catholics in infantry.
The Protestants certainly had more veteran troops in the shape of the Swedes,
although there is some suggestion they were discontent with the leadership of
Duke George, while the Catholics had a lot of ex-garrison and only musket-armed
foot. All the horse regiments have 12 figures, all the horse squadrons 6
figures, all the foot regiments have 24 figures, all the dragoon regiments have
12 figures, and the artillery batteries are single pieces and their gunners.
Garrison troops I have classed as Raw, the best troops as Veteran, all the rest
as Trained. Although there were deep divisions between the Catholic commanders,
I chose not to represent this in the game as it was clear that, in spite of
their differences, they all worked together in the end to fight the Protestant
army.
Opposing Forces:
Here
is a list of the opposing forces which I have drawn from several sources, but mainly
W.P. Guthrie, Battles of the Thirty Years
War: From
Catholic-Imperial Army – Field Marshal von Bonninghausen
Right Wing – Gronsfeld.
Ohr Light Horse Regt (Catholic League) 3 squadrons 450 men
Gronsfeld Arquebusier
Regt (Imperial) 2 squadrons 600 men
Horst
Arquebusier Regt (Catholic League) 2
squadrons 270 men
Gronsfeld
Foot Regt (Catholic League) 2 battalions 1400 men
(ex-garrison troops)
Commanded Foot 2 companies 200 men
(musketeers only)
Centre – Merode-Waroux.
Quadt Light Horse Regt (Catholic League) 1 squadron 100 men
Merode Foot Regt
(Imperial-Walloon) 1 battalion 700 men
Barry Foot Regt (Imperial
Irish-Walloon) 1 battalion 700 men
Waldeck Foot Regt (Catholic
League) 1 battalion 1200 men
Westfalen Foot Regt (Catholic
League) 1
battalion 1200 men
Westerhold Foot
Regiment (Imperial) 1 battalion 1400 men
Artillery 12 guns
Left Wing – Geleen.
Mansfeld Cuirassier Regt (Imperial) 1 squadron 200 men
Westfalen Cuirassier
Regt (Imperial) 2 squadrons 500 men
Pallant Arquebusier
Regt (Imperial-Walloon) 1 squadron 200 men
Rittberg Arquebusier
Regt (Imperial) 1 squadron 200 men
Wartenburg Light
Horse Regt (Catholic League) 2 squadrons 300
men
Quadt Light Horse
Regt (Catholic League) 1 squadron 100 men
Merode Dragoon Regt
(Imperial-Walloon) 1 battalion 500 men
Geleen Battalion 1 battalion 700 men
(musketeers only; ex-garrison troops)
Commanded Foot 6 companies 600 men
(musketeers only)
Reserve – Bonninghausen.
Bonninghausen Cuirassier Regt (Imperial) 1 squadron 100 men
Asti Cuirassier Regt
(Imperial-Walloon) 1 squadron 300 men
Mansfeld Cuirassier
Regt (Imperial) 2 squadrons 450 men
Bonninghausen Dragoon
Regt (Imperial) 1 battalion 500 men
Flamorsin Foot Regt
(Imperial-Walloon) 1 battalion 700 men
Reinach Foot Regt
(Catholic League) 1 battalion 700 men
Commanded Foot 2 companies 200 men
(ex-garrison troops)
Protestant Army – Duke George of Brunswick-Lüneburg.
Right Wing – Stalhansk.
Stenbock Light Horse Regt (Swedish) 4 squadrons 300 men
Silversparre
Light Horse Regt (Swedish) 4
squadrons 400 men
Sack
Light Horse Regt (Swedish) 2
squadrons 250 men
Soop
Light Horse Regt (Swedish) 4
squadrons 400 men
Stalhansk
Light Horse Regt (Swedish) 1
squadron 100 men
Kagge
Dragoon Regt (German) 1
battalion 500 men
Lumsden Foot Regt
(Scots) 1 battalion 100 men
Aston Foot Regt
(English) 1 battalion 200 men
Eller Foot Regt
(Scots) 1 battalion 200 men
Detachment from Yellow Foot Regt (Swedish) 250 men
Centre – Kagge.
Hessian Foot Brigade (Hesse-Kassel)
- Eberstein, Uslar & Geis’s Foot Regts 3
battalions 1600 men
Knyphausen Foot Brigade (German)
- Knyphasuen, Kriegbaum & Heyden’s Foot
Regts 3 battalions 1250 men
Kagge Foot Brigade
(Swedish)
- Yellow, Blue and
Artillery 17 guns and 15 regimental guns
Left Wing – Knyphausen
Mercier Light Horse Regt (Hessian Guard) 2 squadrons 300 men
Melander Light Horse
Regt (Hessian) 2 squadrons 300 men
Seekirch Light Horse
Regt (Hessian) 2 squadrons 300 men
Dalwigk Light Horse
Regt (Hessian) 2 squadrons 300 men
Rostein Light Horse
Regt (Hessian) 2 squadrons 300 men
Bruneck Light Horse
Regt (German) 2 squadrons 280 men
Karberg Light Horse
Regt (German) 2 squadrons 500 men
Lewe Light Horse Regt
(Swedish) 2 squadrons 400 men
Stalhansk Light Horse
Regt (Swedish) 3 squadrons 600 men
Kongsmark Dragoon Regt (German) 1 battalion 350 men
Reserve – Uslar.
Duke George’s Light
Horse Regt (
Merode-Waroux Light
Horse Regt (
Duke George’s Foot
Regt (
Saxe-Lauenburg Foot
Regt (German) 1 battalion 350 men